|
Fay Ayunie 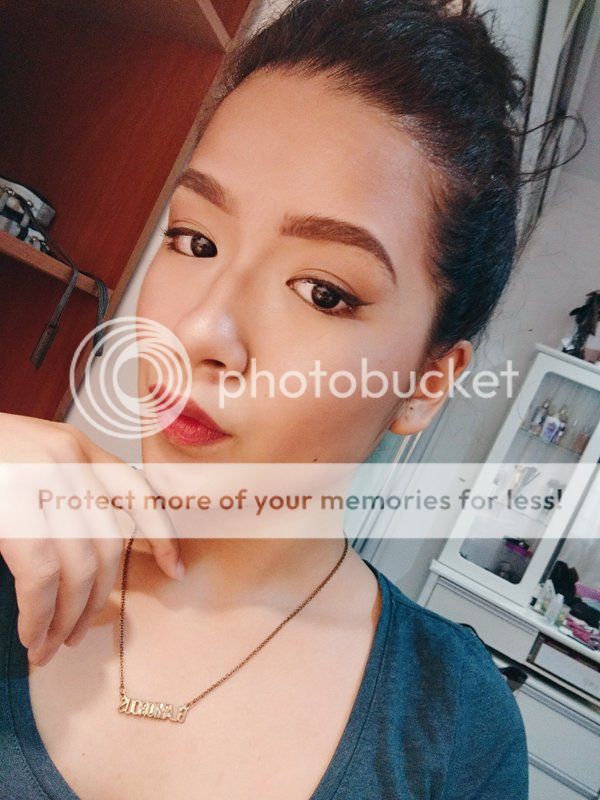 Oh look it's magic! Feel free to navigate as much as your heart desires FOLLOW MY ADVENTURE


My excellent archives What do you think so far? Anything? No worries, just leave it in the chatbox down below Credits!
| Disney's Maleficent makeup tutorial
And so i've been in the mood recently to turn myself into living art because of reasons I myself do not know and this time it'd be Disney's Maleficent from Sleeping Beauty.

To me, I think the most important feature of Maleficent is her deeply sculpted cheekbones
This won't be such a detailed tutorial since it's not that hard to do if you know the makeup basics so yeah have fun nevertheless!
WHAT I DID
1. Before anything, I applied BB cream, concealer and all those kind of stuff so my face would at least be a smoother and whiter canvas.
2. Next, I did the cheekbones. You can always start from wherever you like. I failed sculpting the cheekbones once and had to redo everything but it's basically taking your brush and drawing a line on both sides of your cheeks (like my picture above) and lightly horizontally brushing it to make it look slightly faded and natural. I also added in some contouring on the sides of my forehead so it looks a bit deeper. Oh and you could add more depth to it by highlighting the apples of your cheeks.
3. For the eyes, I sort of went for this look although I didn't exactly get it to 100% look like this because pffts nobody's perfect *starts twirling and singing Miley Cyrus*.

4. For the brows, I slightly arched it than normal to give a little more evil look I guess? Although the more they arch, the more evil you could look but don't over-arch them or you'd look weird.Well at least, that's what I think.
.jpg) .jpg)
5. Lastly, the lips. Since I don't own a red matte lipstick, I used my red gloss one. To make it look matte, I dabbed blusher on my lips after applying lipstick (this is actually a legit secret tip I saw online and it works like magic).
And that's basically it! (More or less. Depends on you)
Thank you everybody and have fun!
Labels: halloween, halloweenmakeup, makeup, maleficent, tutorial Stitched lips in only 5 steps tutorial!
Unfortunately in the country I live in, we don't really celebrate stuff like Halloween. That's also pretty much why I won't even bother getting a costume. BUT however, I decided to do a little makeup on myself with the idea of...
STITCHED LIPS: HOW TO
(*Note that I learnt this from a video on Youtube and just thought i'd share it with y'all)

A basic preview of how it looks like after I was done
Things you will need/Things I used
-Thread (preferably black but I used brown and I got that sort of bloody effect which was cool)
-Eyelash glue or whatever glue that you're okay with (I used nail polish surprisingly)
-Red and brown face paint (eyeshadows would work fine too)
-A big needle (this just gives a more realistic effect to the overall look)
-Compressed powder or concealer (as long as it'd make your lips look pale)
Now let's start!
1. Cut the thread into smaller lengths. If you're using thin thread, then it'd be best to thicken the thread by glueing it with at least another piece. This'd make the thread much more visible. By smaller lengths I mean measure it yourself from the top of your lips to the bottom. You may need 7 but in the picture above, I only used 5. It still works. Whatever your heart desires.
*Reminder: If you happen to have concealer, just dab it around your lips to make it look pale or just use compressed powder and dab that on instead!
2. Next, dab some glue on the end of the strings and stick it horizontally starting from the middle. As you reach the corners of your mouth, you might notice you'd need to readjust the thread length so don't worry just cut a little bit off.
3. Once you're done with that, leave it to dry
4. Now for the makeup. Use brown paint or eyeshadow (whatever you're using) and dab it on the ends of where the threads are. This gives a realistic illusion that it's a scar or a hole in where your thread pops out. Then, cleverly use the red paint to make it look as if it's bleeding or just really red from all that stitching (you can also just dab it on).
5. Lastly, attach the big needle to another piece of long thread and glue the other end on. It'd be hanging around but it does make the look creepier than it already is!
For some bonus tips,

You can use filters to enhance the creepy disgusting look like I did
&
this is basically how I looked after I was done.

Thank you everybody and have fun!
Labels: easy, halloween, halloweenmakeup, stitchedlips, tutorial |